Grow Your Own Garden Seed Stock: A Complete Guide to Saving Seeds for Future Harvests
Saving seeds from your garden is a rewarding and cost-effective way to ensure you have a plentiful supply for future planting seasons. It allows you to preserve heirloom varieties, select for desirable traits in your plants, and reduce your reliance on commercially produced seeds. This comprehensive guide will walk you through the entire process, from choosing the right plants to storing your precious seeds for optimal germination.

Choosing the Right Plants for Seed Saving
Not all plants are ideal for seed saving. Some hybridized varieties produce seeds that don’t reliably grow true to type, meaning the offspring may not resemble the parent plant. To ensure successful seed saving, focus on open-pollinated varieties. These plants reproduce consistently, producing seeds that grow into plants similar to the parent. Look for seed packets or plant tags that clearly indicate ‘open-pollinated’ or ‘heirloom’.
Additionally, consider the following when selecting plants for seed saving:
- Plant Health: Choose healthy, vigorous plants free from disease and pests. Seeds from weak or diseased plants are less likely to germinate successfully.
- Isolation: If you’re saving seeds from plants that cross-pollinate (like tomatoes, peppers, or beans), ensure sufficient distance between different varieties to prevent cross-pollination. This will maintain the genetic integrity of your seeds.
- Maturity: Allow your plants to fully mature before harvesting seeds. Prematurely harvested seeds may not be fully developed and will have lower germination rates.
Harvesting Seeds: A Step-by-Step Guide
The seed harvesting process varies depending on the type of plant. However, some general principles apply across the board:
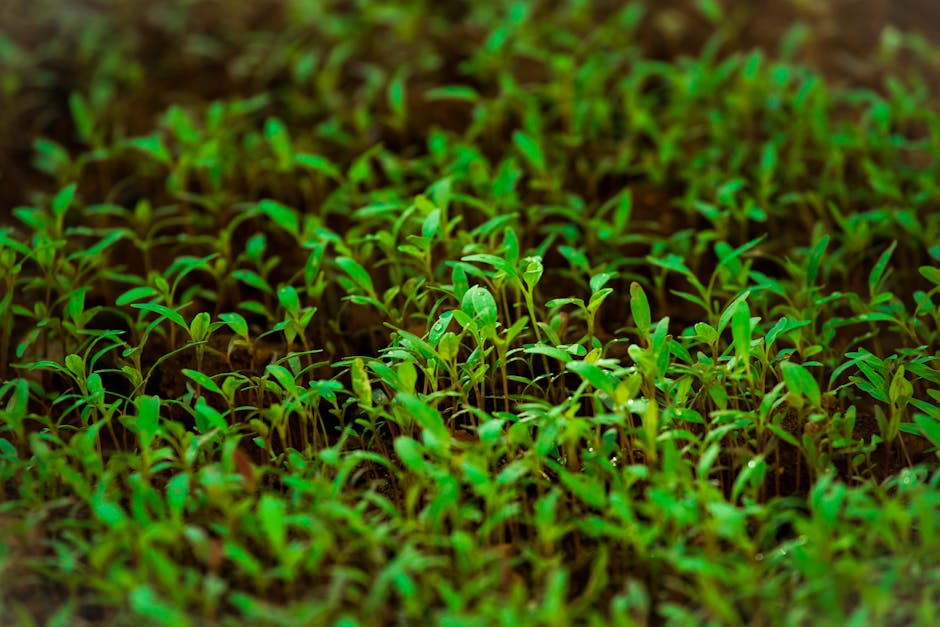
1. Identify Mature Seeds:
Learn to recognize the signs of seed maturity. This might involve changes in color, texture, or the plant itself. For example, many seed pods will turn brown and dry. Consult resources specific to the plant you’re harvesting.
2. Gentle Harvesting:
Handle seeds carefully to avoid damage. Use clean tools and gloves to prevent contamination. Gently remove seed pods or heads, and allow them to fully dry.
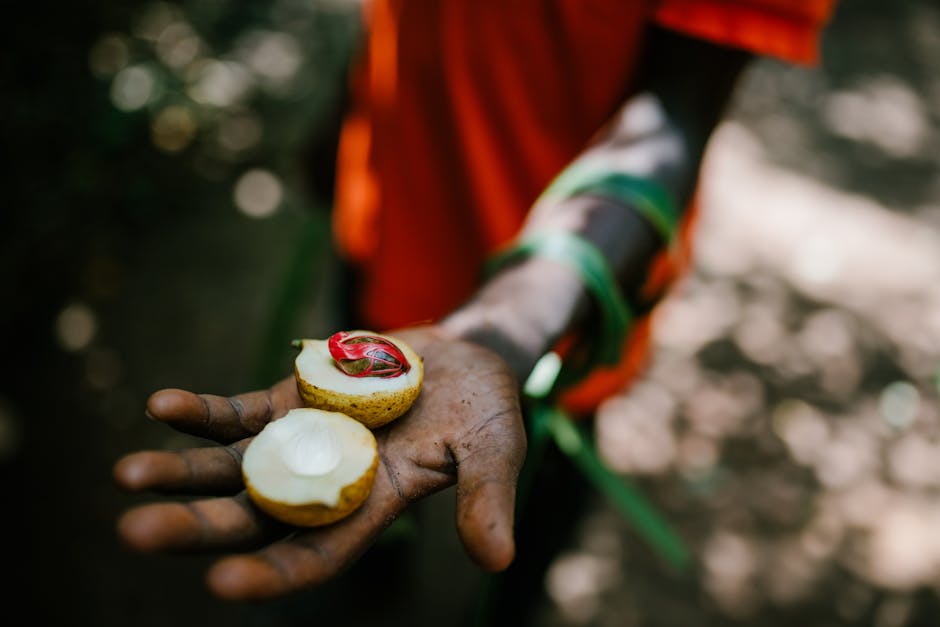
3. Seed Cleaning and Preparation:
After drying, the next step involves cleaning the seeds. This can involve threshing (separating seeds from the pods) by hand or using a mechanical method. Once threshed, remove any debris, chaff, or damaged seeds.
Seed Storage: Ensuring Viability
Proper storage is crucial for maintaining seed viability (the ability to germinate). Improper storage can lead to seed deterioration and reduced germination rates. Here’s how to store seeds effectively:
- Dryness: Seeds must be completely dry before storage. High moisture content can lead to mold and rotting.
- Cool Temperatures: Store seeds in a cool, dark, and dry place. A refrigerator (but not the freezer, unless specifically recommended for the plant) is ideal.
- Airtight Containers: Use airtight containers, such as glass jars or zip-top bags, to protect seeds from moisture and pests. Label containers clearly with the plant name and harvest date.
- Regular Checks: Periodically check your seeds for signs of damage or deterioration. Discard any seeds that show signs of mold or infestation.
Specific Seed Saving Techniques for Different Plants
Tomatoes:
Allow tomatoes to fully ripen on the vine. Let the fruit slightly over-ripen, then scoop out the seeds and pulp into a container. Ferment the mixture for a few days (this helps break down the pulp and improves germination rates) then rinse the seeds thoroughly and dry them completely.
Peppers:
Allow peppers to ripen completely on the plant until their mature color is fully developed. Remove the seeds from the pepper and allow them to dry completely before storage.
Beans:
Let bean pods dry completely on the vine until they turn brown and brittle. Then, thresh the pods to release the seeds. Clean and dry the seeds thoroughly before storage.
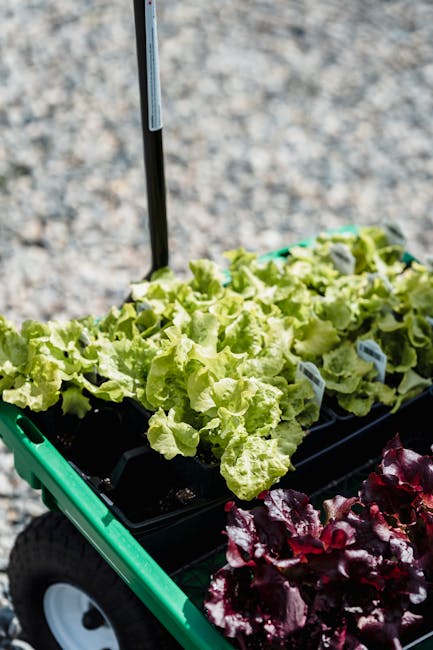
Lettuce:
Allow lettuce to bolt (flower), the seed heads will develop. Cut the seed heads and let them dry in a paper bag. Then, gently rub the dried heads to release the tiny seeds, which can be collected and stored.
Troubleshooting Seed Saving Challenges
Seed saving isn’t always perfect; challenges can arise. Some common issues include low germination rates, cross-pollination, and seedborne diseases. Proper seed selection, isolation, and storage significantly reduce these problems. Remember to maintain meticulous records of your seed saving efforts, including plant varieties, harvest dates, and storage conditions. This will aid in identifying and resolving future challenges.
Conclusion: The Rewards of Seed Saving
Saving seeds from your garden is a rewarding experience that connects you more deeply with your food and the environment. It’s a valuable skill that contributes to preserving plant diversity, reduces your gardening expenses, and provides a sense of accomplishment. By following this guide, you’ll be well on your way to establishing your own thriving seed stock for years to come.
