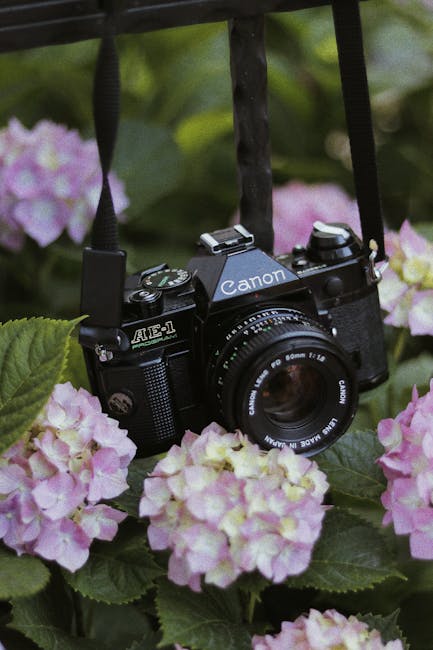
Unlocking the Secret to Hydrangea Propagation: Growing from Leaves
Hydrangeas, with their breathtaking blooms and lush foliage, are a gardener’s dream. But these beauties can be expensive to purchase, especially the rarer varieties. Fortunately, there’s a surprisingly effective method to expand your hydrangea collection without breaking the bank: leaf propagation. While not as common as stem cuttings, leaf propagation offers a unique approach to growing new hydrangeas, albeit with a slightly lower success rate.
This comprehensive guide will walk you through the process of propagating hydrangeas from leaves, equipping you with the knowledge and techniques needed to successfully cultivate these stunning plants from just a single leaf. We’ll cover everything from selecting the right leaves to providing optimal care for your burgeoning plants.
Choosing the Perfect Leaves for Propagation
Success in leaf propagation hinges heavily on selecting the right leaves. Don’t just grab any leaf; choose wisely. Here’s what to look for:
- Healthy Leaves: Select leaves that are free from disease, pests, and damage. Look for vibrant green leaves that are firm to the touch, indicating good health and vigor.
- Mature but Not Old: Avoid very young leaves, as they lack the maturity to develop roots. Equally, avoid overly mature, older leaves, which are less likely to produce new growth.
- Mid-Section Leaves: Leaves from the middle section of the stem are generally considered the best candidates. These leaves are often in the prime of their life cycle and have sufficient energy reserves.
- Size Matters: While not crucial, larger leaves generally provide a greater surface area for root development, increasing your chances of success.
Essential Tools and Materials
Before embarking on your leaf propagation journey, gather the necessary tools and materials:
- Sharp, Clean Knife or Scissors: Sterilize your blade with rubbing alcohol to prevent the spread of disease.
- Rooting Hormone (optional): Rooting hormone significantly enhances the chances of successful root development. Dip the leaf base in the hormone powder before planting.
- Seed Starting Mix or Perlite: A well-draining medium is crucial. Avoid using garden soil, as it can be too dense and prone to fungal growth.
- Small Pots or Trays: Choose containers that are just large enough to hold your leaves and the propagation medium.
- Clear Plastic Bag or Humidity Dome (optional): Creating a humid environment helps maintain moisture levels, which is essential for successful root formation.
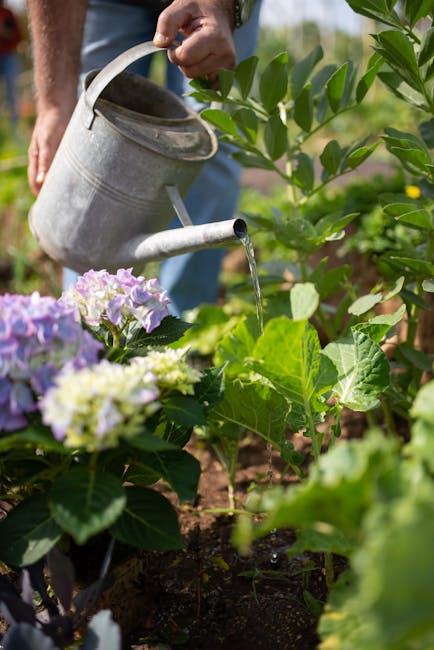
- Watering Can with Fine Rose: Gentle watering is key to avoid disturbing the delicate leaves and seedlings.
Step-by-Step Propagation Process
Step 1: Preparing the Leaves
Carefully remove the selected leaf from the hydrangea stem using a clean, sharp blade. Make a clean cut at the base of the petiole (the stalk connecting the leaf to the stem). Avoid tearing or bruising the leaf.
Step 2: Applying Rooting Hormone (Optional)
If using rooting hormone, lightly dip the cut end of the petiole into the powder, ensuring even coating. Follow the instructions on the rooting hormone package.
Step 3: Planting the Leaves
Fill your small pots or trays with the seed-starting mix or perlite. Gently make a shallow depression in the medium, just deep enough to accommodate the leaf base. Insert the leaf, ensuring the cut end is buried in the medium. Firm the medium gently around the base of the leaf.
Step 4: Creating a Humid Environment
Cover the pot or tray with a clear plastic bag or humidity dome to create a humid microclimate. This will help retain moisture and prevent the leaves from drying out.
Step 5: Providing Ideal Conditions
Place the container in a warm location with indirect sunlight. Avoid direct sunlight, as it can scorch the leaves. Maintain consistent moisture by misting the leaves regularly and keeping the medium evenly moist, but not waterlogged.

Step 6: Patience and Monitoring
Leaf propagation can take several weeks or even months to show results. Be patient! Monitor the leaves regularly, checking for signs of root development. Gently lift the leaf after a few weeks to check for root growth. If roots are present, you’re on the right track.
Step 7: Transplanting
Once the roots have developed sufficiently, carefully transplant the young hydrangeas into individual pots with a well-draining potting mix. Continue to provide adequate light, water, and humidity to encourage further growth.
Troubleshooting Common Issues
Leaf propagation can be challenging. Here are some common issues and how to address them:
- Leaf Rot: Overwatering can lead to leaf rot. Ensure good drainage and avoid overwatering.
- Fungal Growth: Use a sterile growing medium and avoid overcrowding to prevent fungal diseases.
- Slow Growth: Insufficient light or humidity can slow down growth. Ensure adequate light and humidity.
Alternative Methods
While leaf propagation is a viable method, other techniques like stem cuttings generally offer a higher success rate. Experiment with different propagation methods to discover what works best for you.
Conclusion
Propagating hydrangeas from leaves is a rewarding experience, offering a chance to expand your collection and enjoy the beauty of these stunning flowers. While requiring patience and attention to detail, the satisfaction of successfully growing new hydrangeas from a single leaf is truly unparalleled. With this detailed guide, you’ll be well-equipped to embark on your leaf propagation journey and create a thriving hydrangea garden.